

- Stock: 1
- Model: ACRC30
- Weight: 0.58kg
- Dimensions: 124.00mm x 212.00mm x 212.00mm
- SKU: ACRC30
- UPC: 6009515871895
- MPN: 1
RC30
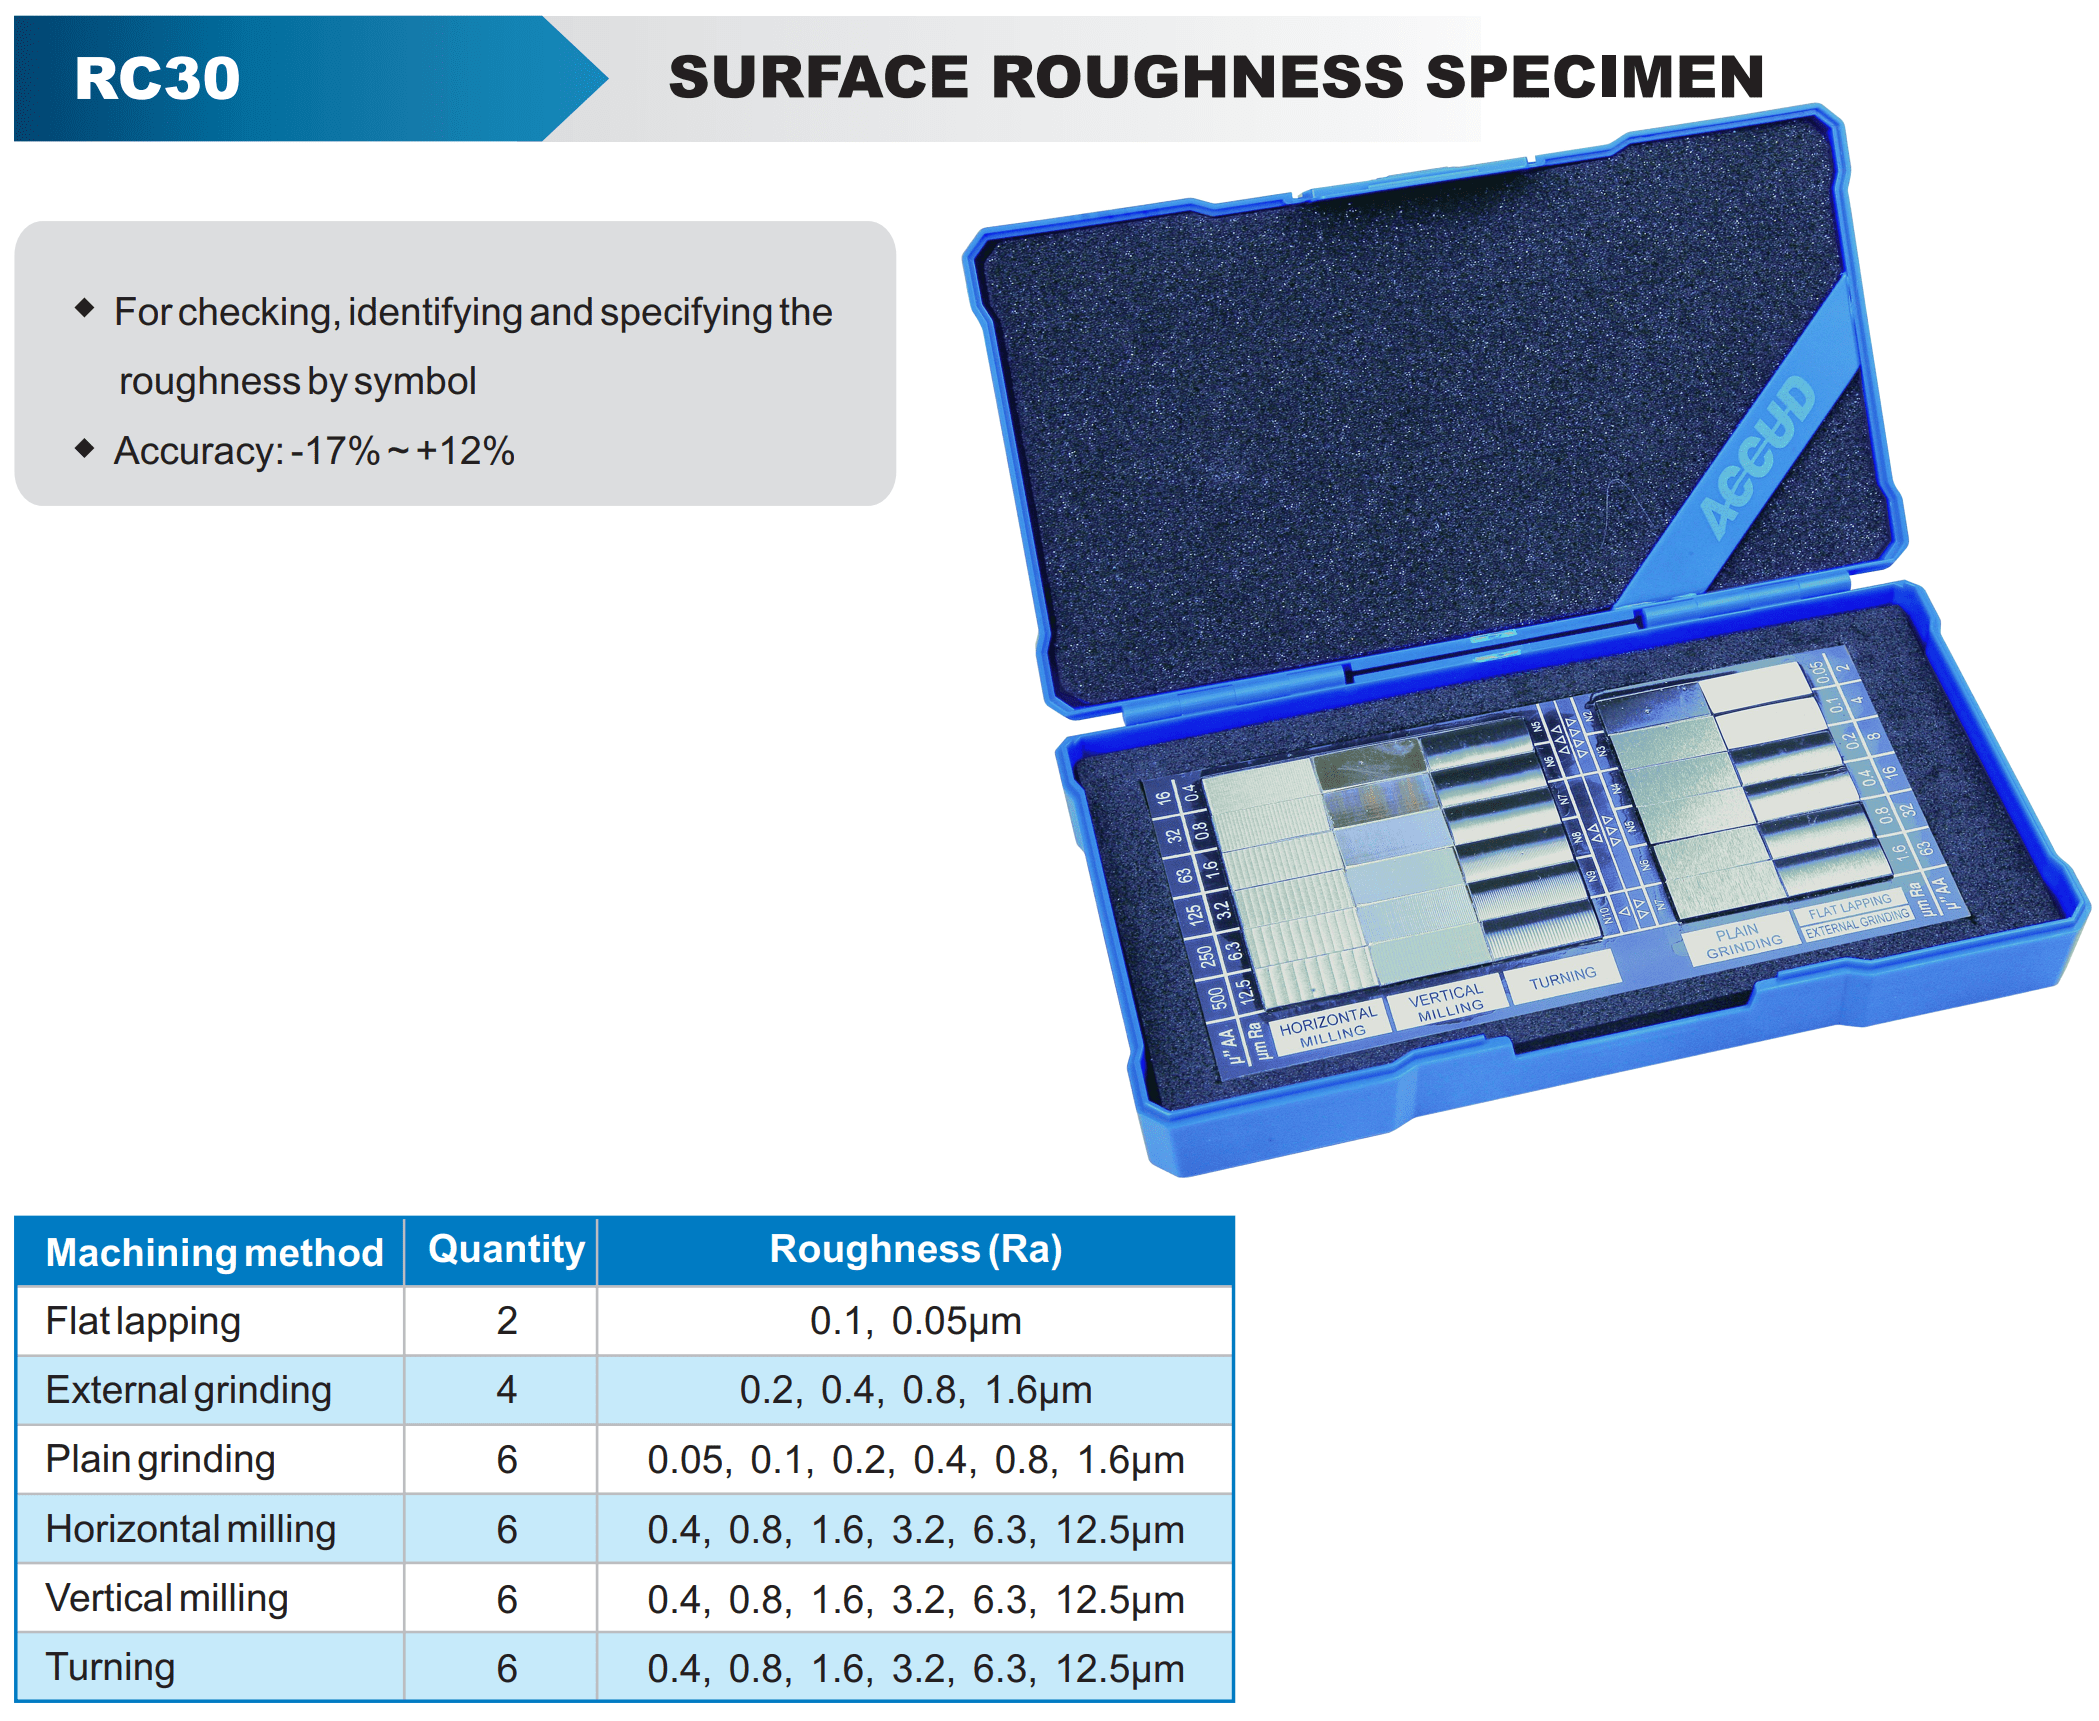
A Surface Roughness Specimen Set typically includes a collection of standard reference samples that represent different levels of surface roughness. This specific set with 30 pieces provides a comprehensive range of roughness values to help users visually and tactilely compare and evaluate the surface finish of materials. These specimen sets are commonly used in machining, manufacturing, and quality control to ensure that the surface finish meets specific industry standards and requirements.
- For checking, identifying and specifying the roughness by symbol
- Accuracy: -17% ~ +12%
Benefits:
- Quick and Convenient: Provides an immediate visual and tactile reference for comparing surface finishes, making it easy to evaluate roughness without needing expensive equipment.
- Versatile and Comprehensive: With 30 specimens, users can reference a wide range of roughness values and machining types, catering to diverse industry requirements.
- Cost-Effective: Allows for surface finish assessment without the need for sophisticated instruments, which can be expensive and require specialized training to operate.
A surface roughness specimen set with 30 pieces is a practical tool for anyone involved in quality assurance, machining, or product development who needs a reliable and accessible way to assess and verify surface finishes according to industry standards.
How It Works:
- Select the Specimen: Choose the specimen that closely matches the surface roughness of the material you want to evaluate.
- Visual and Tactile Comparison: Place the specimen next to the material and observe both visually and by touch. You can feel the specimen's surface with your finger or a stylus to gauge the similarity in texture and roughness.
- Match and Confirm: Compare the specimen's roughness with that of the material, either visually, by feel, or using magnification if needed. Confirm the closest match to determine the roughness grade of the material.
Applications:
- Quality Control and Inspection: Commonly used by quality inspectors to check that manufactured parts meet specified surface roughness criteria.
- Machining and Manufacturing: Helps machinists and engineers determine the required finish and adjust machining parameters to achieve the desired surface roughness.
- Research and Development: Used in R&D settings to study the effects of various processes on surface finish and to select appropriate roughness levels for different applications.
- Education and Training: Useful for teaching students and apprentices about surface finish evaluation and roughness measurements.
Key Features:
- Variety of Roughness Levels: The set usually includes 30 specimens that cover a wide range of roughness values, often expressed in micrometers (µm) or microinches (µin). These values might range from very smooth (e.g., 0.05 µm Ra) to relatively rough (e.g., 25 µm Ra), giving users an extensive selection of roughness levels.
- Standardized Finishes: Specimens in these sets are made according to standardized surface finishing processes, such as grinding, milling, turning, and lapping. This allows for consistent and repeatable comparisons with real-world surface finishes.
- Durable Materials: Specimens are typically made from hardened steel, which ensures that the samples are durable and can withstand frequent handling without changing their roughness characteristics over time.
- Marked Identification: Each specimen is marked with its corresponding roughness value and sometimes the type of machining process used to achieve that finish. This allows for easy identification and quick reference during inspections.
- Portable Case: These sets often come in a protective case, which keeps the specimens organized and protected during transport or storage. The case may include slots or labeling for each piece, ensuring that they remain well-organized and easy to locate.
Technical Specifications


